This post demonstrates how to set up a new ASP.NET MVC project using AD FS. Before you can do this, you need to have an AD FS Server up and running. In my testing, I used an on-network AD FS Server, but a cloud / azure AD FS option exists as well (but I haven’t worked with at this point).
You will need a few pieces of information from your AD FS administrator before proceeding:
- Metadata document URL e.g.
https://example.com/federationmetadata/2007-06/federationmetadata.xml - URI to identify your application. For local development you can use
https://localhost:44300/, but this must be configured on the AD FS side as well. If you specify something else it will not work!
Setting up the Project
- Create a new project using ASP.NET Web Application template
- Check the MVC Template, and optionally click on the Web API checkbox
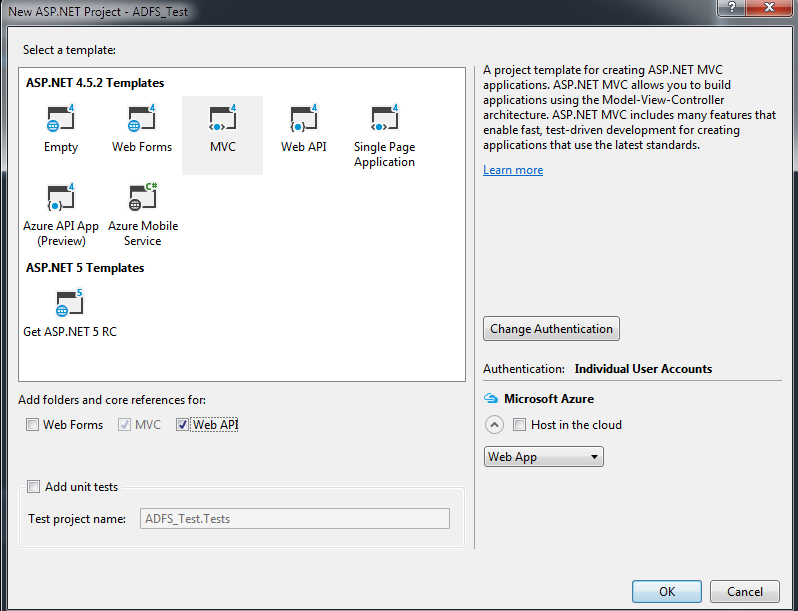
- Click the “Change Authentication” box.
- Change the options to “Work and School Accounts”
- Select On-Premises and enter the metadata from your adminstrator and click OK
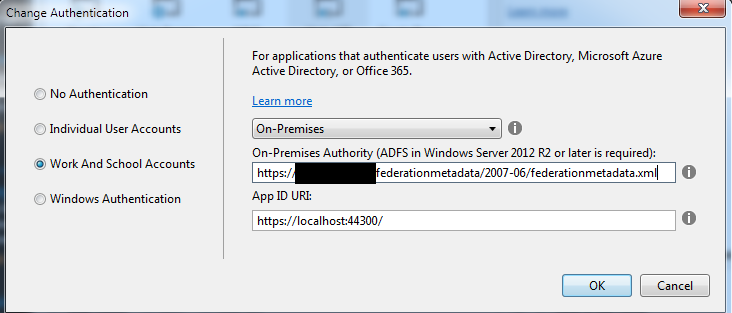
- Click OK to create the rest of your Project
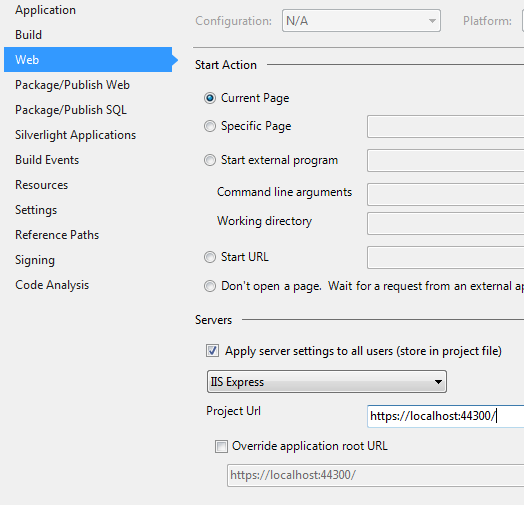
Open up your project settings, and change the SSL URL to match the one from your AD FS administrator
By default, your entire project requires authentication, so on your first build & run, you will immediately see the login screen. To see the home page before logging in, remove the [Authorize] filter from HomeController
Trying out the AD FS components
Build and run your project. You should see the following:
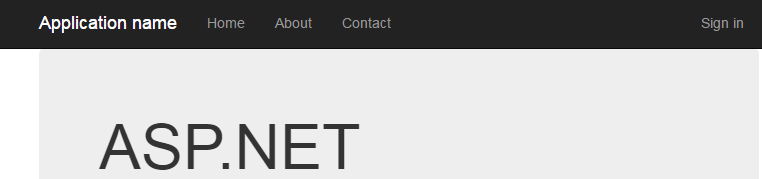
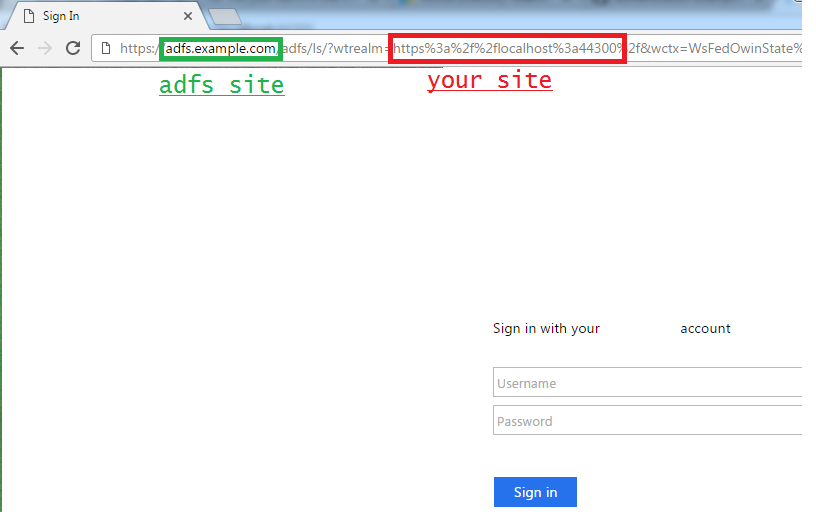
click sign in - you will be redirected to your AD FS Server’s login page. Note that this is not your website
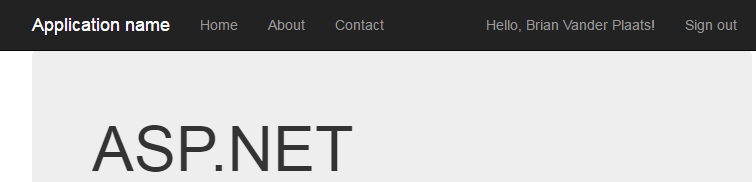
Once you sign in, you will automatically redirect back to your sample website. Note that if any metadata is misconfigured (on the AD FS Server or in your project), you will start to see problems here.
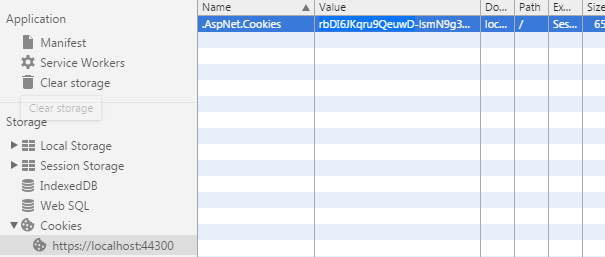
You are now signed in until you explicitly sign out, or your claims token expires (claim expiration is controlled by your server administrator). The claim token itself is stored in a cookie, and sent with each request to the server
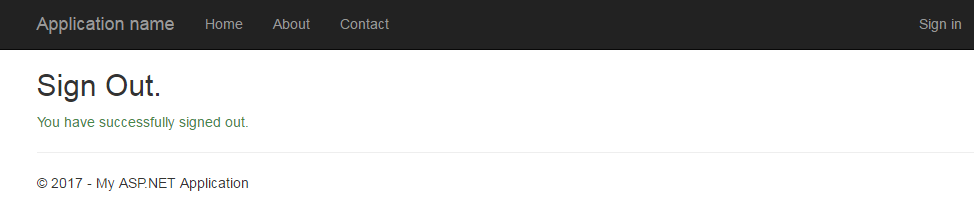
Click Sign Out - you will be directed to the sign out page on your AD FS Server, and then immediately redirect back to your website. This does a few things:
- invalidates the claims token on the AD FS Server by calling:
https://adfs.example.com/adfs/ls/?wtrealm=https%3a%2f%2flocalhost%3a44300%2f&wa=wsignout1.0&wreply=https%3a%2f%2flocalhost%3a44300%2fAccount%2fSignOutCallback - Removes the ASP.NET Cookie from your browser
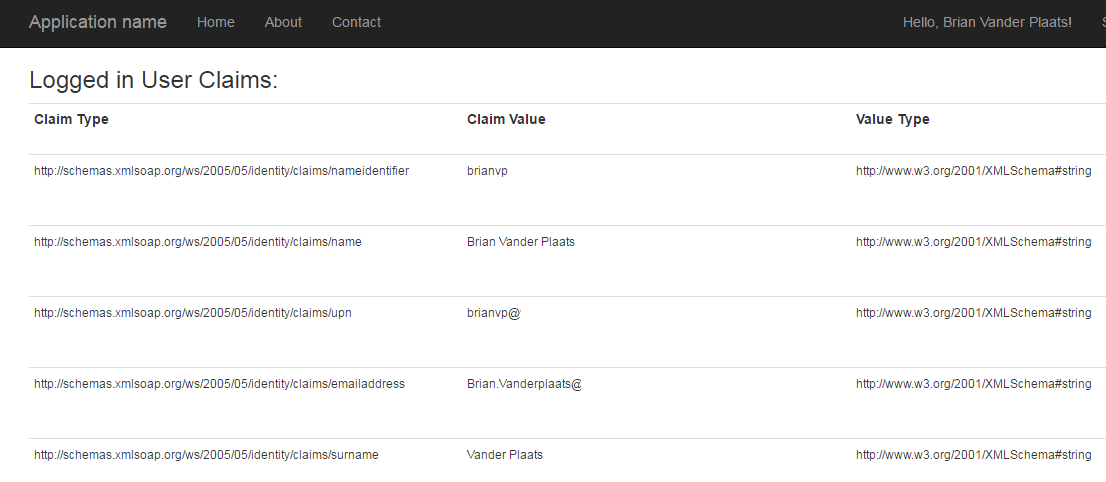
Accessing the Claims Token
You can access your claims token by casting Thread.CurrentPrincipal.Identity to a ClaimsIdentity and then accessing the Claims collection.
HomeController.cs
 public ActionResult Index()
{
    ViewBag.ClaimsIdentity = Thread.CurrentPrincipal.Identity;

    return View();
}
index.cshtml
<h3>Logged in User Claims:</h3>
<table class="table table-condensed">
    <tr>
        <th>Claim Type</th>
        <th>Claim Value</th>
        <th>Value Type</th>
        <th>Subject Name</th>
        <th>Issuer Name</th>
    </tr>
    @foreach (System.Security.Claims.Claim claim in ViewBag.ClaimsIdentity.Claims)
    {
        <tr>
            <td><small>@claim.Type</small></td>
            <td><small>@claim.Value</small></td>
            <td><small>@claim.ValueType</small></td>
            <td><small>@claim.Subject.Name</small></td>
            <td><small>@claim.Issuer</small></td>
        </tr>
    }
</table>
Conclusion
That’s it! You now have a site that you can lock down to authenticated users only. Simply add [Authorize] tags to the necessary feature controllers, and don’t forget to secure all your api paths! To add role-based security for additional granularity, you can add roles to the claims token itself, which I will go over in a future post.